🌾 Introduction
Sourdough bread is one of the oldest and most natural forms of bread-making, known for its deep flavor, crispy crust, and soft airy crumb. Unlike regular bread, it uses a natural fermented starter instead of commercial yeast, which gives it a slightly tangy taste and makes it easier to digest. This detailed recipe will guide you step-by-step to create a perfect bakery-style sourdough loaf at home.
🧾 Ingredients (Measured for Perfect Results)
- 500g bread flour (high protein flour recommended)
- 350ml water (room temperature, filtered if possible)
- 100g active sourdough starter (fed and bubbly)
- 10g salt
🧪 Understanding Your Starter (Important Step)
Before starting, make sure your sourdough starter is:
- Active and bubbly
- Doubled in size within 4–6 hours after feeding
- Has a slightly tangy, pleasant smell
👉 Tip: If your starter is weak, your bread will not rise properly.
⏰ Step 1: Autolyse (Hydration Process)
- In a large mixing bowl, combine flour + water
- Mix until no dry flour remains
- Cover and rest for 30–45 minutes
✔️ This step helps develop gluten naturally and improves dough texture.
🧂 Step 2: Mixing Starter & Salt
- Add the 100g sourdough starter
- Sprinkle salt on top
- Mix thoroughly using your hands or spatula
✔️ The dough will feel sticky and rough—this is completely normal.
🔄 Step 3: Stretch & Fold Technique (No Kneading Needed)
Instead of traditional kneading, use this method:
- Every 30 minutes, perform one set:
- Grab one side of dough
- Stretch it upward
- Fold it over the center
- Rotate bowl and repeat on all sides
👉 Do 4–5 sets over 2–3 hours
✔️ This builds structure and strength in the dough.
🌡️ Step 4: Bulk Fermentation (Main Rise)
- Cover the dough and let it rest at room temperature
- Time: 4–6 hours (depending on temperature)
✔️ Dough should:
- Increase in size (not always double)
- Look airy with bubbles
- Feel lighter and jiggly
👉 Warmer room = faster fermentation
🧺 Step 5: Shaping the Dough
- Lightly flour your surface
- Gently remove dough (don’t deflate it)
- Shape into:
- Round (boule) OR
- Oval (batard)
✔️ Create surface tension by pulling dough towards you.
❄️ Step 6: Final Proof (Flavor Development)
Place shaped dough into a floured bowl or proofing basket.
Two options:
- Room temp: 2–3 hours
- Fridge (recommended): 8–12 hours (overnight)
✔️ Cold proofing improves flavor, texture, and crust.
🔥 Step 7: Baking Like a Pro
- Preheat oven to 230°C (450°F) for at least 30 minutes
- Use a Dutch oven if possible (best results)
Baking Process:
- Place dough onto parchment paper
- Score the top with a sharp blade (controls expansion)
- Transfer into hot Dutch oven
- Bake 20 minutes covered (steam phase)
- Then bake 20–25 minutes uncovered until deep golden brown
✔️ Internal temp: around 96°C (205°F)
🍞 Cooling (Very Important!)
- Let bread cool for at least 1 hour before slicing
❗ Cutting too early will ruin the texture inside.
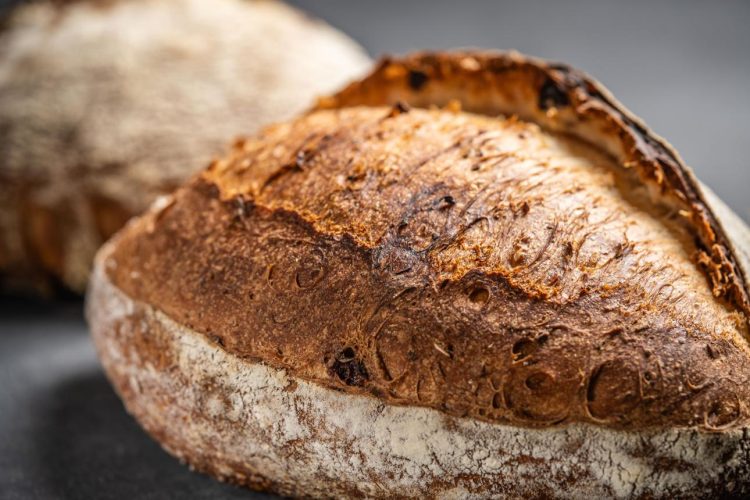
✨ Final Result
You’ll get:
- Crunchy golden crust
- Soft, airy interior (open crumb)
- Slight tangy flavor
Perfect for sandwiches, butter, or even air fryer toast 😉
💡 Expert Tips for Perfect Sourdough
- Always use an active starter
- Don’t rush fermentation
- Use a kitchen scale for accuracy
- Practice improves results—first loaf doesn’t have to be perfect
- Steam in oven = better crust
🥯 Variations You Can Try
- Add seeds (sesame, sunflower)
- Mix in olives or cheese
- Make whole wheat sourdough
- Try garlic butter topping for extra flavor
