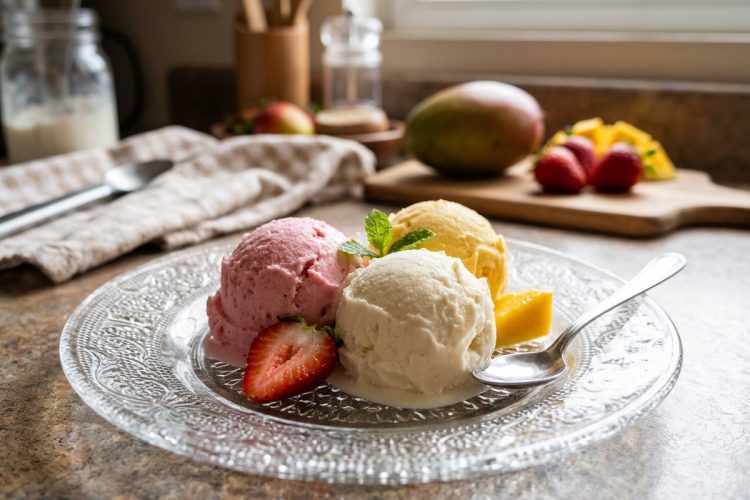
No-churn ice cream is a simple homemade dessert that delivers a smooth, creamy texture without requiring an ice cream maker. Made with four ingredients in the vanilla version, this easy recipe is perfect for summer afternoons, family gatherings, or whenever you want a refreshing frozen treat. The preparation takes about 15 minutes, and the freezer does the rest of the work. You can enjoy classic vanilla ice cream or try chocolate and strawberry variations using the ingredients provided.
One of the best things about homemade no-churn ice cream is how easy it is to prepare. There is no custard to cook, no eggs to separate, and no machine to operate. Whipped heavy cream creates a light texture, while sweetened condensed milk adds sweetness and richness. Once the ingredients are combined, the mixture is transferred to a container and frozen until firm. This straightforward method makes homemade ice cream accessible to beginners and experienced home cooks alike.
Ingredients for Homemade No-Churn Ice Cream
Sweetened Condensed Milk
Sweetened condensed milk is the foundation of this recipe. Its thick consistency and added sugar help create a creamy frozen dessert without the need for a traditional custard base. It also provides the sweetness needed to balance the richness of the heavy cream. Make sure you use sweetened condensed milk rather than evaporated milk, as the two products have different textures and sugar contents.
Heavy Cream
Cold heavy cream gives no-churn ice cream its light and creamy structure. When whipped, the cream traps air, helping the finished dessert feel smooth rather than dense. Heavy whipping cream or double cream can also work, provided it is suitable for whipping. For the best results, chill the cream thoroughly before use and avoid overwhipping it.
Vanilla and Sea Salt
Vanilla bean paste adds a pleasant aroma and tiny vanilla flecks throughout the ice cream. Vanilla extract or the seeds from a vanilla bean can be used as alternatives according to the recipe quantities. A small pinch of fine sea salt balances the sweetness and enhances the vanilla flavor without making the dessert taste salty.
How to Make No-Churn Vanilla Ice Cream
Prepare the Ice Cream Base
Place a metal mixing bowl in the freezer for 15 minutes. Meanwhile, whisk the sweetened condensed milk, vanilla bean paste or vanilla extract, and sea salt in a separate bowl until evenly combined. Preparing this mixture first makes it easier to incorporate into the whipped cream later. There is no need to heat the ingredients or cook them on the stove.
Whip the Heavy Cream
Remove the chilled bowl from the freezer and pour in the cold heavy cream. Beat with an electric mixer, starting at low speed and gradually increasing to high. Continue until stiff peaks form, meaning the cream holds its shape when the beaters are lifted. Keep an eye on the texture because overwhipped cream can become grainy and lose its smooth consistency.
Combine the Ingredients
Gently fold the condensed milk mixture into the whipped cream using a spatula. Lift the mixture from the bottom of the bowl and fold it over the top until everything is evenly combined. Avoid vigorous stirring, which can remove the air incorporated into the cream. Proper folding helps maintain the light texture that makes no-churn ice cream so enjoyable.
Freeze Until Firm
Transfer the mixture to a 9-by-5-inch loaf pan and spread it evenly. Press plastic wrap directly against the surface, cover the container, and place it in the freezer. Freeze for at least four hours or preferably overnight for a firmer consistency. Allow the ice cream to stand at room temperature for a few minutes before scooping if it feels too hard.
How to Make Chocolate No-Churn Ice Cream
Prepare the Chocolate Mixture
Chocolate no-churn ice cream is ideal for anyone who enjoys a rich cocoa flavor. Melt the semisweet chocolate and allow it to cool. In a separate bowl, whisk the sweetened condensed milk with vanilla extract and sea salt, then stir in the melted chocolate until smooth. Cooling the chocolate before mixing helps the ingredients combine more easily.
Whip and Combine
Beat the cold heavy cream with cocoa powder until stiff peaks form. Gently fold in the chocolate-condensed milk mixture, making sure the color and texture are consistent. Add the mini chocolate chips and fold them through the mixture. Transfer everything to a loaf pan, cover the surface with plastic wrap, and freeze for at least four hours or overnight.
Unsweetened cocoa powder provides a balanced chocolate taste, while Dutch-process cocoa powder gives the dessert a deeper, more bittersweet flavor. The combination of melted chocolate, cocoa, and chocolate chips creates a rich dessert with extra texture in every scoop.
How to Make Strawberry No-Churn Ice Cream
Cook the Strawberry Purée
Strawberry no-churn ice cream offers a fruity alternative to the classic vanilla version. Blend the fresh or frozen strawberries until smooth, then transfer the purée to a small saucepan. Cook over medium-low heat, stirring frequently, until the mixture thickens and reduces by approximately half. Cooking the strawberries removes some excess moisture, helping reduce ice crystal formation during freezing.
Combine the Strawberry Mixture
Transfer the cooked strawberry purée to a heatproof bowl and allow it to cool for about 15 minutes. Stir in the sweetened condensed milk, vanilla extract, and sea salt. In a separate chilled bowl, whip the cold heavy cream until stiff peaks form. Gently fold the strawberry mixture into the whipped cream until evenly combined.
Freeze and Serve
Pour the strawberry mixture into a loaf pan and press plastic wrap against the surface. Cover the container and freeze for at least four hours or preferably overnight. Once firm, serve the ice cream on its own or alongside fresh berries and cookies. Cooking the fruit first helps produce a creamier result than adding a large amount of uncooked strawberry purée.
Easy No-Churn Ice Cream Flavor Variations
Cookies and Cream
For cookies and cream ice cream, break seven to eight Oreo cookies into pieces and fold them into the prepared vanilla base. Larger cookie pieces provide a pleasant crunch and create a better contrast with the smooth cream. Spread the mixture in a loaf pan and freeze as directed. This variation is a great option for family desserts and birthday celebrations.
Mint Chocolate Chip
Add one teaspoon of peppermint extract and half a cup of mini chocolate chips to the vanilla ice cream base. Green food coloring is optional if you prefer a traditional mint-colored dessert. Fold the ingredients through evenly before freezing. The refreshing mint flavor pairs well with the small chocolate pieces, making this variation suitable for warm-weather treats.
Cookie Dough
Cookie dough ice cream combines creamy vanilla with small pieces of edible cookie dough and mini chocolate chips. Prepare cookie dough that is safe to eat without baking, shape it into small balls, and fold some into the vanilla mixture. You do not need to use the entire batch of dough. Distribute the pieces evenly so that every scoop contains a mixture of creamy ice cream and cookie dough.
Raspberry White Chocolate
Replace the strawberries in the fruit variation with raspberries and prepare the purée using the same cooking method. Allow it to cool before combining it with the condensed milk, vanilla, salt, and whipped cream. Fold in a finely chopped white chocolate bar before freezing. The slightly tart raspberries balance the sweetness of the white chocolate, creating a fruity dessert with a rich finish.
Tips for Perfect No-Churn Ice Cream
Keep the Ingredients Cold
Cold heavy cream whips more effectively than cream that has warmed to room temperature. Chilling the metal mixing bowl for 15 minutes can also help the cream reach stiff peaks. Keep the cream refrigerated until you are ready to use it, especially if your kitchen is warm.
Fold Gently
Once the cream has been whipped, use a spatula rather than an electric mixer to combine the remaining ingredients. Gentle folding preserves the air in the cream and helps create a lighter texture. Stop mixing once the ingredients are evenly combined to avoid deflating the mixture.
Cover Before Freezing
Press plastic wrap directly against the surface of the ice cream and cover the container securely. Limiting exposure to air helps protect the dessert from freezer odors and unwanted ice crystals. A metal loaf pan is a convenient option because it transfers heat efficiently, although other freezer-safe containers can also be used.
Frequently Asked Questions
How Long Does No-Churn Ice Cream Last?
For the best flavor and texture, enjoy homemade no-churn ice cream within about two weeks when stored in a tightly covered container in the freezer. It may remain frozen for longer, but its quality can decline over time. Keep it covered between servings and avoid repeatedly thawing and refreezing the dessert.
Can You Make No-Churn Ice Cream Without Condensed Milk?
Sweetened condensed milk is important to this recipe because it provides sweetness and contributes to the creamy consistency. Regular milk and evaporated milk are not direct replacements. If you need an alternative, choose a recipe developed specifically for a different base, as the ingredient proportions and preparation method may need to change.
Can You Make This Ice Cream Dairy-Free?
The original recipe contains dairy in both the heavy cream and sweetened condensed milk. For a dairy-free alternative, use a recipe specifically designed with plant-based condensed milk and a dairy-free whipping product that can hold stiff peaks. Different products behave differently when frozen, so the final texture may not be identical to the original recipe.
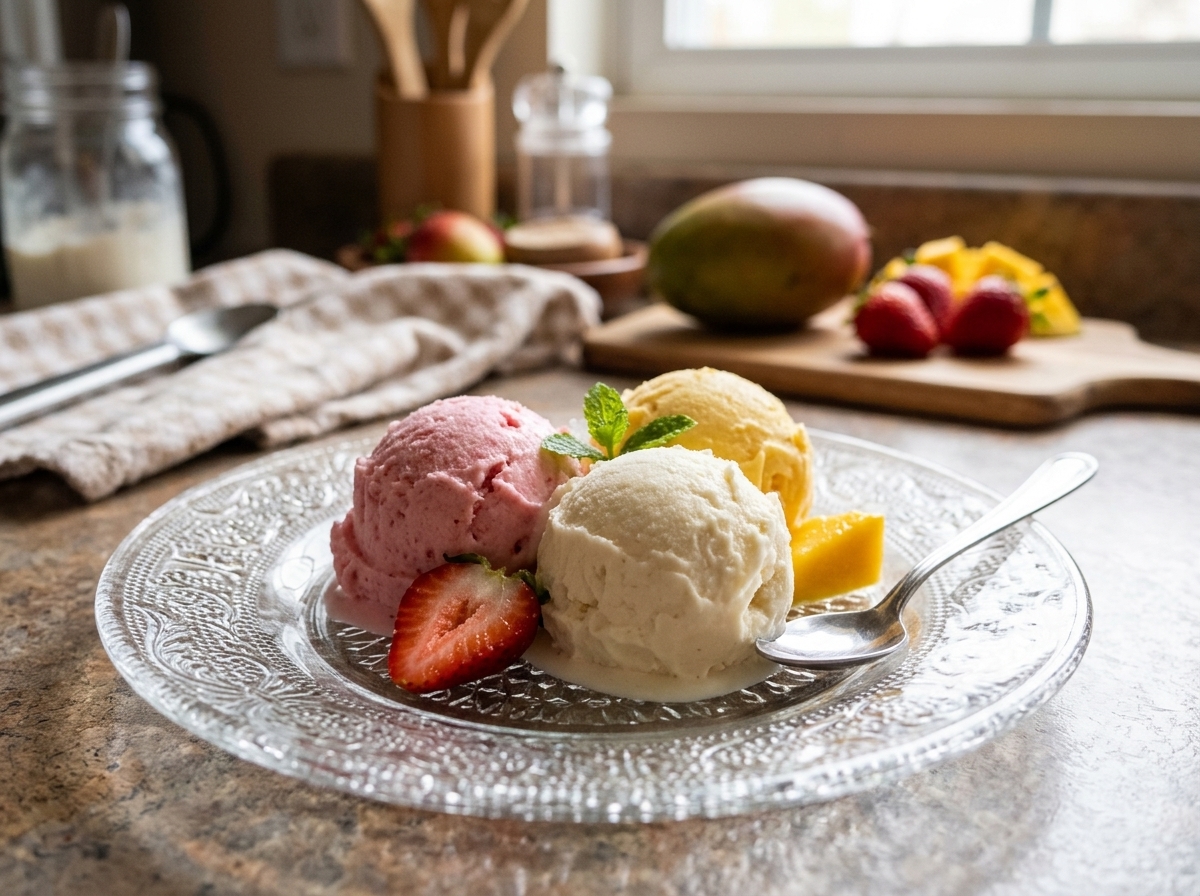
Homemade No Churn Ice Cream Dessert
This easy no-churn ice cream recipe makes a smooth, creamy frozen dessert without an ice cream maker.
8
servings15
minutes10
minutes369
kcal240
minutes4
hours25
minutesIngredients
- Vanilla Ice Cream
14 oz can sweetened condensed milk
1 tablespoon vanilla bean paste, or 1 scraped vanilla bean or 2 teaspoons vanilla extract
Pinch of fine sea salt, about 1/16 teaspoon
2 cups (473 ml) heavy cream, cold
- Chocolate Ice Cream
4 oz (113 g) semisweet chocolate bar, melted
14 oz can sweetened condensed milk
1 teaspoon vanilla extract
Pinch of fine sea salt, about 1/16 teaspoon
2 cups (473 ml) heavy cream, cold
2 tablespoons cocoa powder
½ cup (85 g) mini chocolate chips
- Strawberry Ice Cream
1 lb (453 g) fresh or frozen strawberries, stems removed and quartered
14 oz can sweetened condensed milk
½ teaspoon vanilla extract
Pinch of fine sea salt, about 1/16 teaspoon
2 cups (473 ml) heavy cream, cold
Directions
- Vanilla Ice Cream
- Prepare the base
Place a metal mixing bowl in the freezer for 15 minutes. In a separate bowl, whisk together the sweetened condensed milk, vanilla bean paste or vanilla extract, and sea salt until combined. - Whip the cream
Pour the cold heavy cream into the chilled bowl. Beat with an electric mixer, starting at low speed and gradually increasing to high. Continue until stiff peaks form. - Combine the ingredients
Gently fold the condensed milk mixture into the whipped cream using a spatula until evenly combined. - Freeze the ice cream
Transfer the mixture to a 9-by-5-inch loaf pan. Press plastic wrap against the surface, cover, and freeze for at least four hours or preferably overnight before serving. - Chocolate Ice Cream
- Prepare the chocolate mixture
Chill a metal mixing bowl in the freezer for 15 minutes. Melt the semisweet chocolate and allow it to cool. In a separate bowl, whisk together the condensed milk, vanilla extract, and sea salt, then stir in the melted chocolate. - Whip the cream with cocoa
Add the cold heavy cream and cocoa powder to the chilled bowl. Beat with an electric mixer, gradually increasing the speed until stiff peaks form. - Fold and add chocolate chips
Gently fold the chocolate-condensed milk mixture into the whipped cream until combined. Add the mini chocolate chips and fold them through evenly. - Freeze until firm
Transfer the mixture to a 9-by-5-inch loaf pan. Cover the surface with plastic wrap, secure the container, and freeze for at least four hours or preferably overnight. - Strawberry Ice Cream
- Prepare the strawberry purée
Chill a metal bowl in the freezer for 15 minutes. Blend the strawberries until smooth, then transfer the purée to a small saucepan. Cook over medium-low heat, stirring frequently, until thickened and reduced by approximately half. - Cool and flavor the fruit
Transfer the cooked strawberry mixture to a heatproof bowl and let it cool for about 15 minutes. Stir in the sweetened condensed milk, vanilla extract, and sea salt until combined. - Whip and fold
Pour the cold heavy cream into the chilled metal bowl. Beat with an electric mixer, gradually increasing the speed until stiff peaks form. Gently fold in the strawberry mixture until evenly combined. - Freeze and serve
Transfer the mixture to a 9-by-5-inch loaf pan. Press plastic wrap against the surface, cover, and freeze for at least four hours or preferably overnight before scooping.
Notes
- Flavor variations: Add seven to eight broken Oreo cookies for cookies and cream, or use the suggested peppermint extract and mini chocolate chips for mint chocolate chip ice cream.
- Cookie dough: Fold small balls of edible cookie dough into the vanilla base, along with mini chocolate chips.
- Raspberry white chocolate: Replace the strawberries with raspberries and add a finely chopped white chocolate bar.
- Cocoa powder: Unsweetened cocoa powder gives a milder chocolate flavor, while Dutch-process cocoa powder provides a deeper, more bittersweet taste.
- Strawberry texture: Cooking down the strawberry purée reduces excess water and helps limit ice crystal formation. If using uncooked blended strawberries instead, the finished ice cream may be firmer and icier.
- Easy scooping: Let the frozen ice cream stand at room temperature for a few minutes before serving, and use a warm scoop if needed.
- Storage: Keep the ice cream tightly covered in the freezer and enjoy it within about two weeks for the best quality.
Nutrition Facts
- Calories: 369kcal
- Fat: 26g
- Carbohydrates: 30g
- Sugar: 30g
- Protein: 6g


