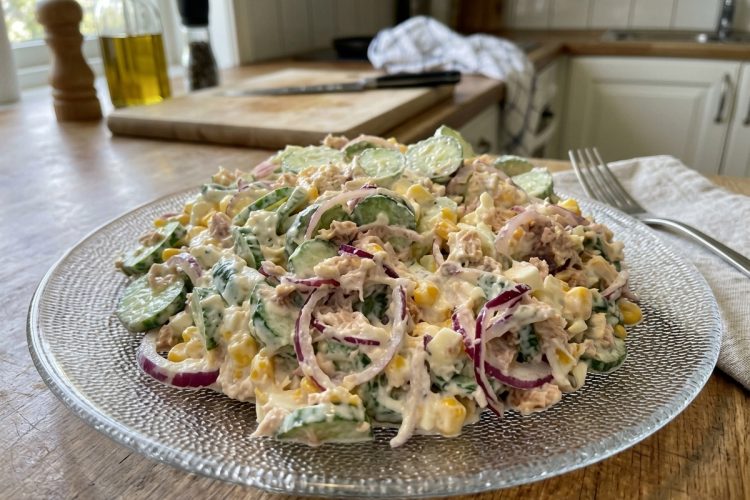
Classic tuna salad is a simple, satisfying dish made with canned tuna, mayonnaise, crunchy celery, red onion, fresh lemon juice, salt, and black pepper. It takes only a few minutes to prepare and works well for lunch, a light dinner, or a quick snack. The ingredients are easy to find, and the preparation requires no cooking, making this recipe especially useful on busy days when you want something delicious without spending much time in the kitchen.
The best tuna salad does not need a long list of ingredients or complicated preparation methods. A few carefully combined ingredients create a creamy texture, a fresh flavor, and a pleasant crunch in every bite. The mayonnaise brings everything together, celery adds crispness, and lemon juice balances the richness with a light citrus taste. Finely chopped red onion contributes a mild sharpness without overpowering the tuna, while a little salt and black pepper help bring all the flavors into balance.
Another reason to love this easy tuna salad recipe is its flexibility. You can serve it between slices of bread, wrap it in a tortilla, spread it over crackers, or spoon it onto fresh salad greens. It is also easy to prepare ahead of time, which makes it a practical choice for packed lunches and simple weekday meals. Whether you prefer a traditional tuna sandwich or a lighter lunch without bread, this recipe provides a dependable starting point.
This Easy Tuna Salad Recipe
Ready in Just Five Minutes
One of the biggest advantages of homemade tuna salad is how quickly it comes together. Since canned tuna is already cooked, there is no need to prepare raw fish or turn on the stove. Once you drain the tuna and chop the celery and red onion, you can combine everything in a mixing bowl and have lunch ready in approximately five minutes. This makes the recipe particularly helpful when your schedule is full or you need a quick meal between other activities.
Made With Simple Pantry Ingredients
You do not need specialty sauces, expensive seafood, or unusual seasonings to make a flavorful tuna salad. Water-packed canned tuna, mayonnaise, celery, lemon juice, and a few basic seasonings are enough to create a delicious result. These ingredients are also easy to keep on hand, so you can prepare this dish whenever you need a convenient meal. Using familiar ingredients keeps the recipe approachable for beginner cooks and anyone who prefers straightforward homemade food.
Creamy, Crunchy, and Refreshing
A good tuna salad should have a creamy consistency without becoming watery or overly heavy. Mayonnaise gives the fish a smooth texture, while diced celery provides a crisp contrast. Lemon juice adds brightness, and red onion offers a little extra flavor. When these ingredients are mixed in the right proportions, the finished salad tastes balanced rather than bland. Breaking the tuna into small pieces with a fork also helps distribute the mayonnaise and seasonings evenly throughout the mixture.
Easy to Customize for Different Meals
Although this recipe focuses on a traditional combination of ingredients, you can adjust it to suit your preferences. Add chopped pickles for a tangy taste, mustard for extra sharpness, or fresh parsley for a herbal note. If you enjoy more texture, diced bell peppers or chopped apples can provide an interesting contrast. These additions are optional, so you can keep the salad classic when you want a familiar flavor or experiment when you feel like trying something different.
How to Make Classic Tuna Salad
Drain the Canned Tuna
Open the can of tuna and carefully drain the water over the sink. You can press the lid gently against the fish to help remove the liquid, taking care not to squeeze the tuna too hard. Proper draining is important because excess water can dilute the mayonnaise and make the finished salad runny. Once the liquid has been removed, transfer the tuna to a medium-sized mixing bowl and separate any large pieces with a fork.
Combine the Ingredients
Add the diced celery, mayonnaise, finely chopped red onion, lemon juice, salt, and black pepper to the bowl. Use a fork or spoon to mix everything together until the ingredients are evenly distributed. Break up the tuna as you stir, but avoid crushing it into a completely smooth paste if you prefer a little texture. The celery should remain crisp, and the mayonnaise should coat the tuna without leaving a pool of liquid at the bottom of the bowl.
Taste and Adjust the Seasoning
After mixing, taste a small spoonful and decide whether the salad needs any adjustments. You may prefer a little more black pepper, a touch of lemon juice, or a small additional amount of mayonnaise, depending on the tuna and your personal taste. Make changes gradually so the mixture stays balanced. If you are serving the salad with salty crackers or cheese, remember that those accompaniments already contribute salt, so additional seasoning may not be necessary.
Serve Immediately or Chill
You can serve the tuna salad as soon as it is mixed, making it ideal for a quick lunch. If you prefer a cooler, firmer texture, cover the bowl and refrigerate it briefly before serving. Chilling also gives the flavors a little time to blend together. Keep the salad covered whenever it is stored, and use a clean spoon when serving to help maintain its quality and freshness.
The Best Tuna for Homemade Tuna Salad
Water-Packed Tuna or Oil-Packed Tuna?
Water-packed tuna is an excellent choice for this classic tuna salad because it has a relatively light flavor and combines easily with mayonnaise. It allows the other ingredients, including celery, lemon juice, and red onion, to remain noticeable. Make sure to drain the liquid thoroughly before adding the fish to the mixing bowl. If you already have oil-packed tuna in your pantry, you can still use it, but expect a richer taste and a slightly different texture.
Oil-packed tuna can be especially appealing when you want a fuller, more pronounced fish flavor. Because it contains additional oil, you may find that the salad feels richer than the water-packed version. Drain it well before mixing, and pay attention to the amount of mayonnaise you add. The original recipe is designed around water-packed tuna, so that option is the closest match if you want the intended consistency and flavor.
Choosing the Right Texture
The texture of your tuna can make a noticeable difference in the finished dish. Some canned tuna breaks into fine flakes, while other varieties contain larger pieces that hold their shape. Either option works for this recipe. Use a fork to separate the fish into bite-sized flakes, leaving a few larger pieces if you enjoy a more substantial texture. Avoid overmixing, as keeping some texture in the tuna makes the salad more interesting and satisfying.
Delicious Ways to Customize Your Tuna Salad
Add Pickles, Capers, or Olives
If you enjoy a tangy tuna salad, chopped pickles, capers, or olives can add a different flavor without requiring major changes to the recipe. Pickles provide a familiar sour crunch, while capers contribute a salty, briny taste. Chopped olives offer a richer flavor that pairs well with lemon juice. Add small amounts at first, mix thoroughly, and taste before adding more, especially when using ingredients that already contain a considerable amount of salt.
Include Extra Vegetables and Fresh Herbs
Diced bell peppers, grated carrots, chopped fennel, and finely sliced scallions are useful additions when you want extra texture. They can make the salad more colorful and introduce fresh flavors that complement the tuna. Fresh parsley and dill are also suitable choices for a more herbal finish, while thyme and oregano can provide a slightly different seasoning profile. These additions are optional ideas rather than ingredients required by the original recipe, so the basic version remains unchanged.
Try a Little Mustard or Paprika
Mustard can give tuna salad a sharper flavor, especially when combined with lemon juice and mayonnaise. Smoked paprika offers a gentle smoky note that works well if you enjoy a more savory taste. Begin with a small amount of either ingredient because both can change the character of the finished dish. The purpose of these additions is to complement the tuna, not hide its flavor. Keeping the seasoning balanced helps the salad remain versatile enough for sandwiches, wraps, and salads.
How to Serve Tuna Salad
Make a Classic Tuna Salad Sandwich
A tuna salad sandwich is one of the simplest and most popular ways to enjoy this recipe. Spoon the prepared mixture onto your favorite bread and spread it evenly to create a satisfying filling. Soft sandwich bread gives the meal a familiar, comforting texture, while whole-grain bread offers a heartier bite. You can serve the sandwich as it is or add lettuce and sliced tomatoes for extra freshness. This combination works well for lunch at home, school, or work.
Prepare a Crispy Tuna Melt
A tuna melt turns the classic salad into a warm, comforting meal. Spread the tuna mixture between slices of bread, add cheese, and lightly butter the outside of the sandwich. Cook it in a skillet over medium-low heat until the bread becomes golden and crisp and the cheese melts. Avoid using excessively high heat, which can brown the bread before the cheese has time to soften. The creamy filling and melted cheese create a satisfying contrast with the toasted exterior.
Serve With Crackers or Fresh Vegetables
For a quick snack or a simple party appetizer, serve tuna salad with crackers. Spoon a small amount onto each cracker shortly before eating to help prevent the crackers from becoming soggy. You can also serve the mixture with celery sticks or other fresh vegetables for a crunchy alternative. This serving method is especially convenient when you want something easy to share, since guests can take small portions without needing to prepare full sandwiches.
Make a Fresh Tuna Salad Bowl or Wrap
If you want to enjoy tuna salad without traditional sandwich bread, spoon it over a bed of lettuce or mixed salad greens. Add sliced cucumber, tomatoes, or other vegetables you enjoy to create a more complete meal. You can also spread the mixture inside a tortilla, pita, or flatbread and add greens before rolling it up. These serving options allow you to use the same basic recipe in different ways, making it easier to plan varied meals throughout the week.
Frequently Asked Questions About Tuna Salad
Can I Make Tuna Salad Ahead of Time?
Yes, tuna salad is convenient to prepare ahead for lunches and quick meals. Mix the ingredients, transfer the salad to an airtight container, and refrigerate it until needed. Preparing it in advance can also give the flavors time to blend. For the best texture, keep bread and crackers separate until serving. Follow the recommended refrigerated storage period, and do not prepare more than you can safely use within three to five days.
Can I Use Something Other Than Mayonnaise?
Mayonnaise provides the traditional creamy texture and flavor of this recipe. If you prefer a different option, plain Greek yogurt or a mixture of yogurt and mayonnaise may work, although the taste and consistency will change. Light mayonnaise is another alternative if you want to experiment with a different version. These are optional substitutions, not part of the original ingredient list, so use regular mayonnaise when following the recipe exactly as written.
Why Does My Tuna Salad Taste Bland?
Tuna salad can taste bland when the ingredients are not evenly mixed or the seasoning is too light for your preferences. Start by checking whether the tuna was properly drained, then taste the mixture before serving. A little lemon juice, salt, or black pepper may improve the balance. Red onion also contributes flavor, so make sure it is finely chopped and distributed throughout the salad. Add any adjustments gradually to avoid making the mixture too salty or too sharp.
Can I Double the Recipe?
Yes, this recipe is easy to increase when you are preparing lunch for several people. Double or triple every ingredient in the same proportions, then mix the salad in a larger bowl. Taste the finished mixture before serving because you may want a small seasoning adjustment depending on the tuna you use. If preparing a larger batch for a gathering, keep it refrigerated until serving and return leftovers to the refrigerator promptly.
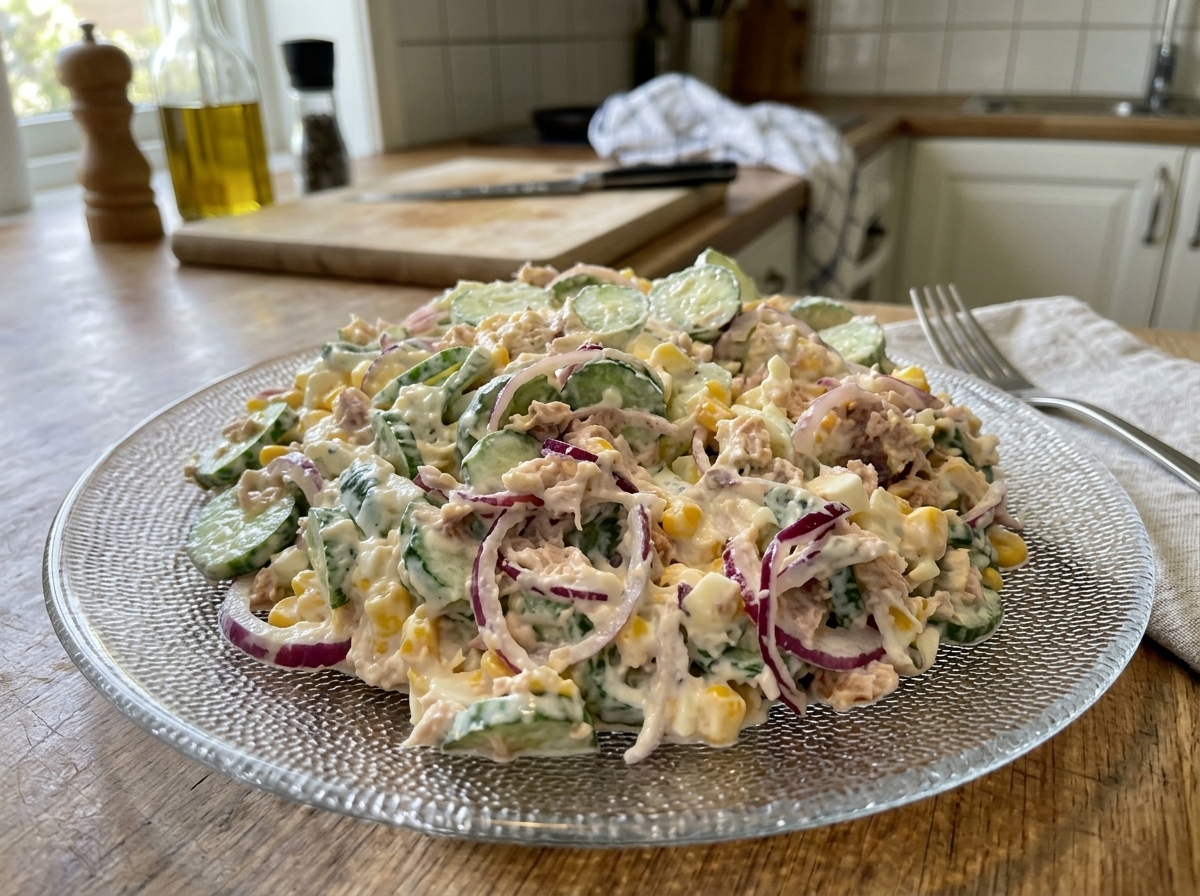
Healthy Tuna Salad
This easy classic tuna salad combines canned tuna, creamy mayonnaise, crunchy celery, red onion, and fresh lemon juice.
2
servings5
minutes256
kcal5
minutesIngredients
1 (5-ounce) can tuna packed in water
1 rib celery, diced
3 tablespoons mayonnaise
1 teaspoon red onion, finely chopped
1 teaspoon lemon juice
Pinch salt
Pinch black pepper
Directions
- Drain the Tuna
Open the tuna can and drain the water thoroughly over the sink. Transfer the tuna to a mixing bowl and break it into smaller pieces with a fork. - Mix the Ingredients
Add the diced celery, mayonnaise, finely chopped red onion, lemon juice, salt, and black pepper to the bowl. Stir until everything is evenly combined. - Adjust the Seasoning
Taste the tuna salad and adjust the seasoning to your preference. Mix gently to maintain a pleasant texture.
Nutrition Facts
- Calories: 256kcal
- Fat: 18g
- Carbohydrates: 1g
- Protein: 21g


