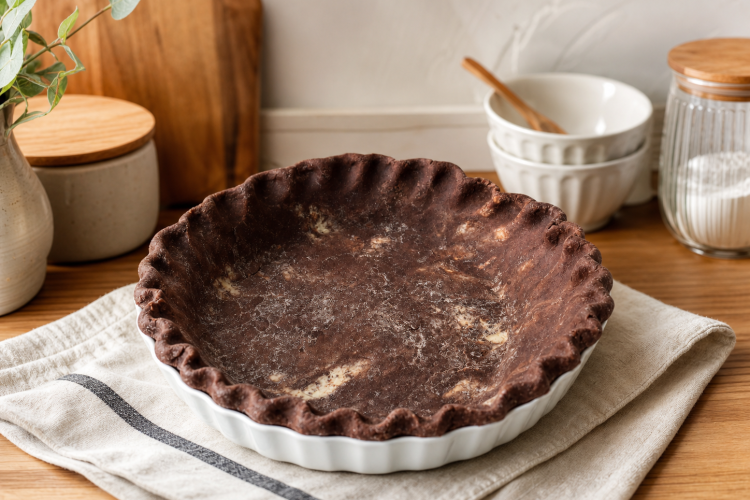
Chocolate pie crust gives a classic pastry a deeper flavor without changing the basic way pie dough is made. This homemade chocolate pie crust is tender, flaky, buttery, and lightly sweet, with cocoa powder mixed into the flour for a rich chocolate taste. It works with many different pie fillings, from creamy chilled fillings to pies that are baked in the oven.
The dough uses a simple combination of all-purpose flour, dark or Dutch processed cocoa powder, powdered sugar, butter, shortening, salt, and ice water. Keeping the butter and shortening cold is important because the small pieces of fat help create flaky layers as the crust bakes. The dough also needs enough water to hold together without becoming wet or sticky.
What Makes Chocolate Pie Crust Flaky?
The texture of homemade pie crust depends heavily on how the fat is handled. Cold butter and vegetable shortening are cut into the dry ingredients until small, pea-sized pieces remain. These pieces create pockets in the dough that help form a flaky pastry when the crust is baked.
It is better to leave some visible pieces of butter than to mix everything into a smooth paste. If the fat becomes too warm during preparation, the dough can become difficult to handle and may lose some of its flaky texture. Working quickly and using cold ingredients helps keep the pastry in good shape.
Choosing Cocoa Powder
Dark or Dutch processed cocoa powder gives this pie crust its chocolate flavor and color. Sifting the cocoa powder with the flour helps break up lumps before the wet ingredients are added. This also allows the cocoa to spread more evenly throughout the pastry.
Because cocoa powder is included with the flour, the crust has a noticeable chocolate taste without requiring melted chocolate. The flavor is strong enough to complement sweet fillings while still allowing the filling to remain the main part of the finished pie.
Measuring the Dry Ingredients
Start by measuring the all-purpose flour, cocoa powder, powdered sugar, and kosher salt. Sift the cocoa powder and powdered sugar before mixing them with the flour. This creates a more even dry mixture and makes it easier to incorporate the cocoa into the pastry.
Accurate measurements are especially useful for pie dough because too much flour can make the crust dry and difficult to roll. Using the listed quantities gives the dough the balance needed to hold together while remaining tender after baking.
Keeping the Butter Cold
Cold unsalted butter is one of the most important ingredients in this chocolate pie crust. Cut the butter into cubes before adding it to the flour mixture. The pieces should remain cold while they are being worked into the dough.
The goal is not to completely blend the butter into the flour. Instead, use a pastry blender to cut the butter and shortening into small pieces about the size of peas. Those pieces will help create the flaky texture associated with good pie pastry.
Adding Vegetable Shortening
The recipe also uses cold vegetable shortening along with butter. Shortening helps create a tender pastry and works with the butter to give the crust a balanced texture. Both fats should be cold when they are added to the dry ingredients.
A pastry blender makes it easy to work the fats into the flour without warming them too much. A food processor can also be used for this step, but it is important not to overprocess the mixture. Stop when the fat has been reduced to small pieces rather than turning the mixture into a smooth dough.
Adding Ice Water
Ice water brings the dough together after the butter and shortening have been incorporated. Begin with 3 tablespoons of ice water and mix gently with a fork or cold hands. If dry pieces remain, add more water one teaspoon at a time.
You may not need all 5 tablespoons listed in the ingredient range. The amount depends on factors such as the flour and humidity. Add only enough water to bring the dough together. Too much liquid can make the finished crust tougher.
Bringing the Dough Together
As the water is mixed in, the flour mixture will begin forming small clumps. Move the pieces that have already come together to one side of the bowl while adding water to the remaining dry mixture.
Once most of the mixture has formed clumps, give the dough only a few gentle kneads. It does not need to look perfectly smooth. A rough, shaggy dough is a good sign at this stage because the pastry will be shaped and rolled later.
Chilling the Pie Dough
Shape the dough into a rough ball and place it on plastic wrap. Wrap it tightly and flatten it slightly into a disk. Refrigerate the dough for at least 30 to 60 minutes before rolling it out.
Chilling gives the butter time to firm up again and allows the dough to relax. This makes it easier to roll and reduces the chance of the pastry shrinking excessively in the oven. The dough can also remain refrigerated overnight if you want to prepare it ahead.
Freezing the Dough
The chocolate pie dough can be frozen for up to one month when wrapped and stored properly. This is useful if you want to prepare the pastry ahead of time for a future pie.
When you are ready to use frozen dough, transfer it to the refrigerator and let it thaw overnight. Allowing it to thaw slowly helps maintain a workable texture. Avoid trying to roll the dough while it is still frozen or extremely hard.
Preparing the Oven
When you are ready to bake the crust, preheat the oven to 375°F. Allow the oven to reach the correct temperature before putting the pastry inside.
A properly heated oven helps the butter in the dough create steam and encourages the crust to set correctly. Baking at the listed temperature also gives the cocoa pastry enough heat to develop its chocolate flavor without requiring a long baking period.
Rolling the Chocolate Dough
Lightly flour your countertop or pastry cloth before rolling. Place the chilled dough on the surface and roll it gently, adding a small amount of flour as needed to prevent sticking. You can also roll the dough between sheets of parchment paper.
For a standard 9-inch pie pan, roll the dough to approximately 14 inches in diameter. The extra size provides enough pastry to cover the bottom and sides of the pan while leaving sufficient overhang for shaping the edge.
Transferring the Dough
Once the dough has been rolled to the correct size, fold it carefully in half. This makes it easier to transfer the pastry without tearing it. Place the folded dough into the 9-inch pie pan and gently unfold it.
Ease the dough into the bottom and corners of the pan rather than pulling or stretching it. Stretching can cause the pastry to shrink while baking. Take your time around the corners so the dough sits naturally against the pan.
Shaping the Pie Edge
Trim excess dough from around the pan, leaving approximately a 1-inch overhang. Fold this extra dough back underneath itself around the edge of the pie pan. This creates a thicker rim that can then be shaped.
Crimp the edge using your preferred method. You can use your fingers or knuckles to create a fluted appearance. The important part is making sure the edge is evenly shaped and securely positioned around the pan.
Chilling the Shaped Crust
Once the crust has been shaped, it needs another period of chilling before baking. Freeze it for at least 15 minutes or refrigerate it for about 30 minutes.
This step firms the butter and helps the decorative edge hold its shape. Chilling is particularly useful after rolling because the dough has warmed slightly from handling. A cold crust is less likely to lose its shape during the initial bake.
Blind Baking the Crust
For the first stage of baking, place a piece of crinkled parchment paper inside the chilled crust. Fill the parchment with pie weights, dried rice, dried beans, or another suitable weight.
The weights prevent the bottom of the crust from puffing while it begins to bake. Place the pie pan on a second baking sheet before putting it in the oven. The extra sheet can catch any butter that escapes from the crust during baking.
First Baking Stage
Bake the crust with the parchment and weights for 15 to 20 minutes at 375°F. The edges and sides should begin to look matte rather than shiny when this stage is complete.
The bottom may still look slightly wet after the weights are removed. This is normal at this point. Carefully lift out the parchment and weights, taking care not to damage the pastry.
Using the Crust for Baked Fillings
If your pie filling needs to be baked, the partially baked crust can now be filled. Add the prepared filling and continue baking according to the instructions for your specific pie recipe.
This method allows the crust and filling to finish cooking together. The partially baked pastry provides a firm base while still having enough time to cook completely with the filling.
Fully Baking for No-Bake Fillings
A pie with a filling that does not need oven cooking requires a fully baked crust. After removing the parchment and weights, prick the bottom of the pastry all over with a fork or toothpick.
Return the crust to the oven for another 10 to 15 minutes. Continue baking until the bottom looks dry and is no longer shiny. Once fully baked, remove it from the oven and allow it to cool completely before adding a chilled or no-bake filling.
Preventing the Bottom From Puffing
Pricking the bottom of the crust creates small openings that allow steam to escape during the final baking stage. This helps reduce large air pockets underneath the pastry.
The parchment and weights are especially important during the first stage because they hold the pastry against the pan. Using both methods at the appropriate stages gives the crust a more even shape and surface.
Avoiding a Tough Pie Crust
One of the easiest ways to make pastry tough is to add too much water or overwork the dough. Add the ice water gradually and stop as soon as the dough holds together.
Kneading should also be kept to a minimum. A couple of gentle movements are enough to bring the dough into a rough ball. Once it is wrapped and chilled, the dough will become easier to roll without requiring heavy handling.
Working With Cold Ingredients
Cold ingredients are especially important for this recipe. The butter, shortening, and ice water should stay cold throughout the preparation. If the kitchen is warm or the dough begins to feel greasy, place it back in the refrigerator for a short time.
Cold fat creates a better texture because it remains in small pieces until the pastry reaches the oven. Once heated, those pieces contribute to the flaky layers in the crust.
Using a Food Processor
A food processor can be used to cut the butter and shortening into the dry ingredients. This is convenient when you want to make the dough quickly, but it requires attention.
Pulse the mixture rather than running the machine continuously. Stop when the butter and shortening are reduced to pea-sized pieces. The water should still be mixed in carefully rather than processing the dough until it becomes completely smooth.
Rolling Without Cracking
Chilled dough may feel firm immediately after coming out of the refrigerator. Give it a moment to become workable, then roll it gently on a lightly floured surface.
If the dough begins sticking, use a small amount of flour or parchment paper. Avoid adding excessive flour because it can change the texture. Rolling between parchment sheets can be especially helpful when the dough is delicate.
What to Serve With Chocolate Pie Crust
This chocolate pastry works with many sweet pie fillings. Its cocoa flavor pairs naturally with creamy, fruity, nut-based, and chocolate fillings. The crust can be used as the base for a baked pie or fully baked before adding a filling that does not go into the oven. Because the pastry itself contains cocoa powder and powdered sugar, it adds flavor even when the filling is simple. A rich filling can create a more intense dessert, while a fruit or cream filling can provide a lighter contrast.
Storing the Prepared Crust
The dough can be refrigerated overnight before rolling and baking. If you are making the dough ahead of time, keep it tightly wrapped so it does not dry out or absorb odors from the refrigerator. For longer storage, freeze the wrapped dough for up to one month. Thaw it overnight in the refrigerator before rolling. This makes the pastry convenient for planned baking without requiring the dough to be prepared on the same day.
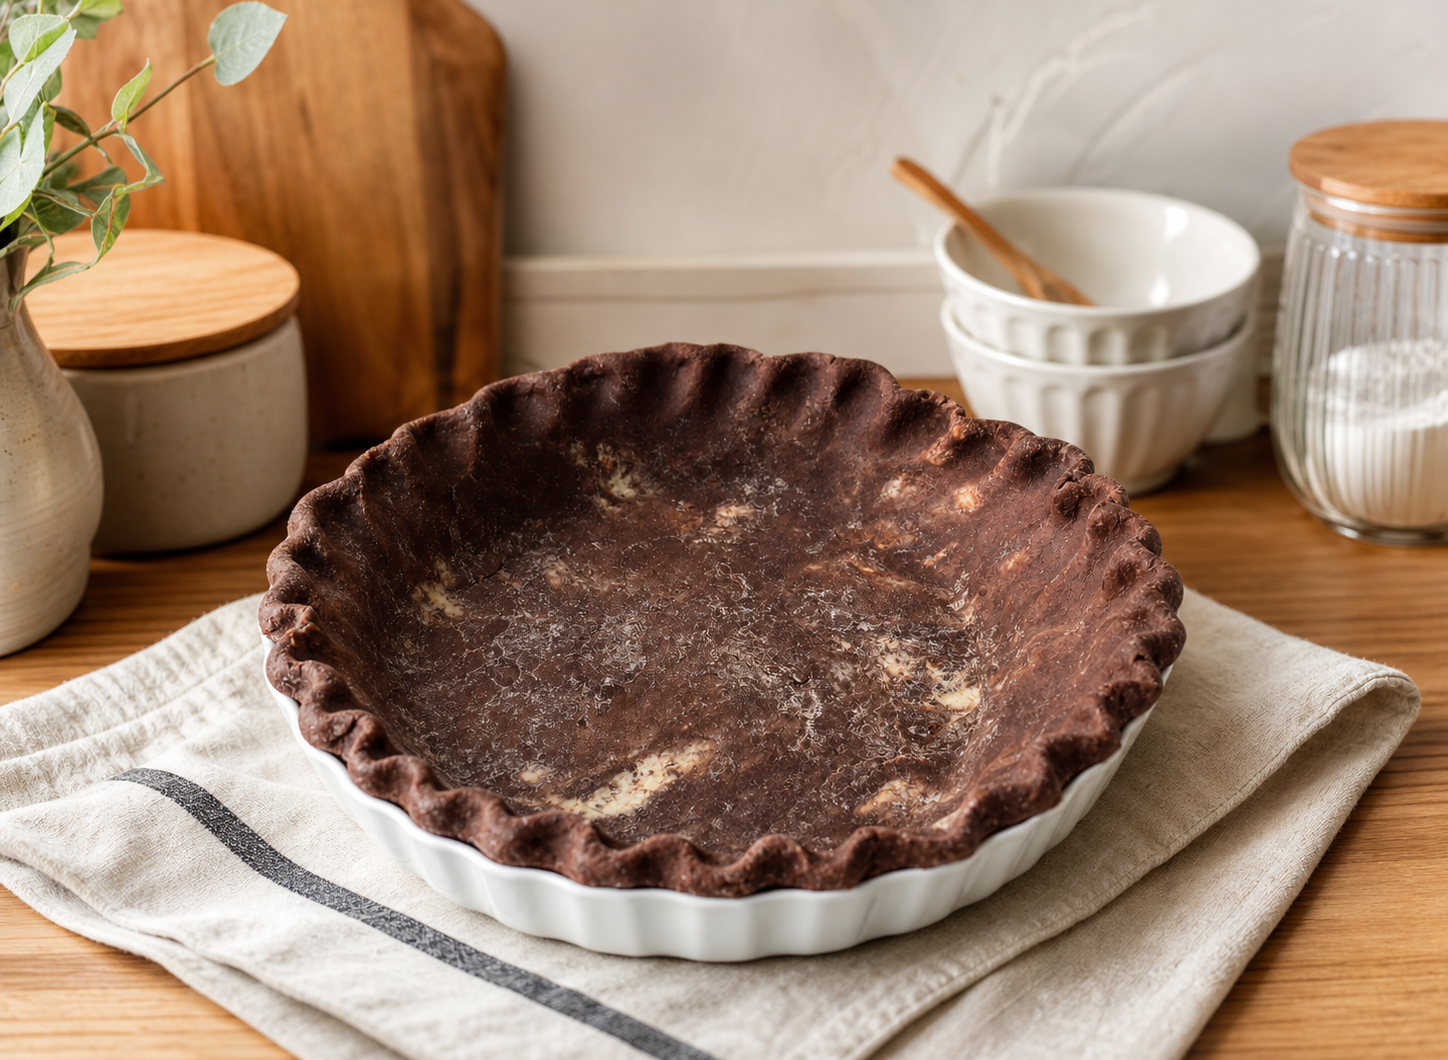
Best Dessert Flaky Chocolate Pie Crust
A tender, buttery chocolate pie crust made with cocoa powder, cold butter, and vegetable shortening. The pastry can be partially baked for pies with cooked fillings or fully baked for chilled and no-bake pie fillings.
30
minutes25
minutes55
minutesIngredients
1½ cups (187 g) all-purpose flour
3 tablespoons (21 g) dark or Dutch processed cocoa powder, sifted
2 tablespoons (16 g) powdered sugar, sifted
½ teaspoon kosher salt
8 tablespoons (113 g) cold unsalted butter, cut into cubes
2 tablespoons (24 g) cold vegetable shortening
3–5 tablespoons ice water, as needed
Directions
- Mix the dry ingredients: Sift the flour, cocoa powder, powdered sugar, and kosher salt into a bowl. Add the cold butter cubes and vegetable shortening, then cut them into the flour mixture with a pastry blender until pea-sized pieces remain.
- Add the ice water: Make a well in the center and add 3 tablespoons of ice water. Mix gently with a fork or cold hands until the dough begins to clump. Add more ice water one teaspoon at a time only where needed.
- Chill the dough: Gently bring the mixture together into a rough dough. Wrap it tightly in plastic wrap, flatten it into a disk, and refrigerate for 30–60 minutes or overnight. The dough can also be frozen for up to one month.
- Roll and shape: Preheat the oven to 375°F. Roll the chilled dough to about 14 inches wide, then transfer it to a 9-inch pie pan. Ease it into the corners without stretching, leave a 1-inch overhang, fold the edge underneath, and crimp it.
- Blind bake: Freeze the shaped crust for 15 minutes or refrigerate it for 30 minutes. Line it with crinkled parchment and add pie weights, dried rice, beans, or granulated sugar. Bake for 15–20 minutes until the edges look matte, then carefully remove the parchment and weights.
- Finish baking: For a pie with a baked filling, add the filling and continue according to that recipe. For a no-bake filling, prick the crust all over and bake for another 10–15 minutes until the bottom is dry and no longer shiny. Cool completely before filling.


