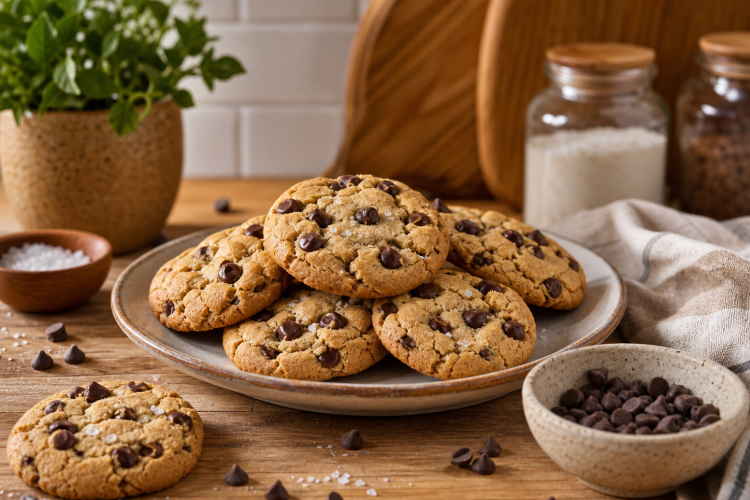
These gluten-free chocolate chip cookies have crisp golden edges, soft chewy centers, and plenty of melted chocolate in every bite. Brown butter adds a deeper flavor, while almond flour gives the cookies a rich texture without making them heavy. They are easy to prepare and do not require an electric mixer.
The combination of gluten-free measure-for-measure flour and almond flour helps create cookies that hold their shape while staying tender in the middle. A short resting period also gives the flour time to absorb moisture, which helps reduce the gritty texture that can sometimes happen with gluten-free baking.
What Makes These Cookies Different
The brown butter is one of the main ingredients that gives these gluten-free cookies their distinctive taste. As the butter cooks, the milk solids turn golden and develop a nutty aroma. This adds more flavor than simply melting butter and gives the finished cookies a lovely golden color.
Brown sugar also plays an important role in the texture. It helps keep the centers soft and chewy while adding a mild caramel-like sweetness. Granulated sugar balances the moisture and helps the edges become lightly crisp during baking.
The recipe also includes a small amount of almond flour. It adds richness and helps the cookies brown nicely. If you cannot use almonds, the almond flour can be replaced with an additional 1/4 cup of gluten-free measure-for-measure flour without changing the other ingredients.
Choosing Gluten-Free Flour
For the best results, use a gluten-free measure-for-measure or 1:1 baking flour that contains xanthan gum. These blends are designed to replace regular wheat flour in many baking recipes and provide structure to the cookie dough.
Different gluten-free flour brands can absorb liquid differently. Because of this, the dough may look slightly different depending on the flour you use. If the mixture appears unusually thin after combining everything, a few tablespoons of additional gluten-free flour can help bring it to the right consistency.
It is important not to replace the gluten-free baking flour with only almond flour. Almond flour behaves differently because it contains more fat and does not provide the same structure as a gluten-free flour blend. Using only almond flour would require a recipe designed specifically for that ingredient.
Why Brown Butter Works So Well
Brown butter gives these cookies a warm, nutty flavor that works especially well with chocolate chips. The process is simple, but it needs attention because butter can move from golden brown to burnt quickly. Keep the heat at medium-low and stir as the butter begins to foam.
Once the butter develops a golden color and smells nutty, remove it from the heat immediately. Pour it into a bowl so it stops cooking in the hot skillet. This small step helps protect the flavor and keeps the butter from becoming too dark.
Allowing the browned butter to combine with the sugars creates a flavorful base for the cookie dough. The brown sugar brings moisture and chewiness, while the granulated sugar contributes to the crisp edges that make these cookies enjoyable.
Why Add a Little Milk?
The tablespoon of milk may seem like a small addition, but it has a useful purpose in this gluten-free cookie recipe. It adds a little moisture to the dough and helps the finished cookies develop a pleasant texture instead of becoming dry or gritty.
The milk also works with the gluten-free flour during the resting period. As the dough sits, the flour has time to absorb the available moisture. This helps create a smoother dough and gives the cookies a more balanced texture after baking.
If you are making the dairy-free version, the milk can be omitted as directed in the recipe card. The butter can also be replaced with melted dairy-free butter, although dairy-free butter will not brown in the same way as regular butter.
Preparing the Cookie Dough
Start by combining the gluten-free flour, almond flour, baking soda, and kosher salt in a bowl. Whisking these ingredients together helps distribute the baking soda and salt evenly throughout the flour mixture.
Next, brown the butter in a skillet over medium-low heat. Stir it regularly as it melts and foams. When the butter turns golden brown and develops a nutty smell, remove it from the heat and transfer it to a bowl.
Add the milk, brown sugar, and granulated sugar to the brown butter. Whisk until the mixture is well combined. Add the egg and vanilla extract, then continue whisking until the mixture looks smooth and creamy.
Add the dry ingredients and mix with a rubber spatula until no large pockets of flour remain. Fold in the chocolate chips so they are spread throughout the dough. Avoid overmixing because the dough only needs to be combined.
Why the Dough Needs to Rest
A 30-minute resting period is an important part of this recipe. Gluten-free flour needs time to absorb moisture, and allowing the dough to sit gives the flour a chance to hydrate before the cookies go into the oven.
Resting also helps improve the overall texture. Cookies made from gluten-free dough can sometimes have a slightly gritty texture when baked immediately. Giving the mixture time to sit helps create a softer and more pleasant bite.
If you have extra time, the dough can also be refrigerated for up to 5 days. A longer rest can deepen the flavor and makes it convenient to prepare the dough ahead of time.
Shaping the Cookies
Once the dough has rested, scoop it into round portions of about 2 tablespoons each. Keeping the portions similar in size helps the cookies bake evenly and makes it easier to produce approximately 18 cookies from the recipe.
Place the dough balls on a parchment-lined baking sheet or a sheet covered with a silicone baking mat. Leave about 2 inches between each portion because the cookies will spread as they bake.
There is no need to flatten the dough balls before baking. The heat of the oven will allow the butter to soften and the cookies to spread naturally. Keeping the dough rounded also helps the centers stay thicker and softer.
Baking Gluten-Free Chocolate Chip Cookies
Preheat the oven to 350°F before placing the cookies inside. A properly heated oven helps the cookies begin baking at the correct temperature and supports even spreading and browning.
Bake the cookies for 10 to 12 minutes, watching the edges closely toward the end of the baking time. The edges should become golden brown while the centers remain softer and slightly underdone-looking.
Do not wait for the centers to become deeply browned. They will continue cooking from the residual heat of the baking sheet after the cookies are removed from the oven. Overbaking can make gluten-free cookies firmer and drier than intended.
Getting Crisp Edges and Soft Centers
The texture of these cookies comes from balancing the baking time carefully. The edges should have enough time to become golden and lightly crisp, while the middle should remain soft and chewy.
Let the cookies cool on the baking sheet for about 5 minutes after removing them from the oven. This gives the centers time to finish setting without losing their soft texture.
For an extra touch, sprinkle a little sea salt over the warm cookies. The salt is optional, but it provides a contrast to the sweetness of the brown sugar and chocolate and adds a pleasant finish.
Making the Cookies Nut-Free
Although almond flour is part of the original recipe, you can make these cookies nut-free with a simple substitution. Replace the 1/4 cup almond flour with an additional 1/4 cup gluten-free measure-for-measure flour.
No other ingredient needs to be changed for this adjustment. The result will still have the familiar chewy cookie texture, although the flavor and browning may be slightly different without the almond flour.
If you are preparing these cookies for someone with a serious food allergy, also check the labels of the gluten-free flour, chocolate chips, and other packaged ingredients for possible cross-contact information.
Making Dairy-Free Cookies
These gluten-free chocolate chip cookies can also be prepared without dairy. Instead of browning regular butter, use melted dairy-free butter. Dairy-free butter generally does not brown like traditional butter, so simply melt it and continue with the recipe.
For the dairy-free version, omit the milk and use dairy-free chocolate chips. The rest of the ingredient quantities can remain the same.
Because different dairy-free butter products contain different amounts of water and fat, the dough may have a slightly different consistency. If needed, adjust the gluten-free flour only enough to bring the dough to a scoopable consistency.
Storing Baked Cookies
After the cookies have cooled completely, place them in an airtight container. They can be kept at room temperature for up to 5 days. Keeping the container sealed helps prevent the cookies from drying out.
For the best texture, allow the cookies to cool fully before storing them. Putting warm cookies into a sealed container can trap steam and make the edges softer than intended.
If you like softer cookies, you can enjoy them at room temperature. For a freshly baked texture, a short gentle warming period can also make the chocolate softer again.
Freezing the Cookie Dough
Freezing the dough is a convenient option when you want freshly baked gluten-free cookies without preparing a new batch every time. Scoop the dough into individual balls and arrange them on a parchment-lined baking sheet or plate.
Freeze the dough balls until they are firm, which usually takes about 1 to 2 hours. Once solid, move them into a resealable freezer bag or airtight container. Remove as much excess air as possible and label the container with the date.
There is no need to thaw the dough completely before baking. Place the frozen dough balls on a prepared baking sheet and bake according to the recipe instructions. Add about 1 to 2 minutes to the baking time if necessary.
Common Dough Problems
If the dough looks too thin, the type of gluten-free flour or the way it was measured may be responsible. Gluten-free flour blends vary in how much liquid they absorb, so small differences in consistency are normal.
A dough that is slightly soft is not necessarily a problem. After the 30-minute rest, it should become easier to scoop and shape. If it still appears much too loose, add a few tablespoons of gluten-free flour and mix gently.
Avoid adding a large amount of flour at once. Too much flour can produce thick, dry cookies instead of the chewy centers and crisp edges this recipe is designed to create.
Serving Ideas
These cookies are delicious on their own, but they can also be served with a glass of cold milk, coffee, tea, or your favorite dairy-free drink. They make an easy dessert for family meals, lunch boxes, or casual gatherings.
For a simple dessert, serve a warm cookie with a scoop of vanilla ice cream. The combination of the soft cookie, melted chocolate chips, and cold ice cream makes a satisfying treat without requiring additional preparation.
They are also useful for make-ahead baking. Prepare and freeze the dough balls, then bake only the amount you need. This gives you warm gluten-free chocolate chip cookies whenever you want them without making a full batch from scratch.
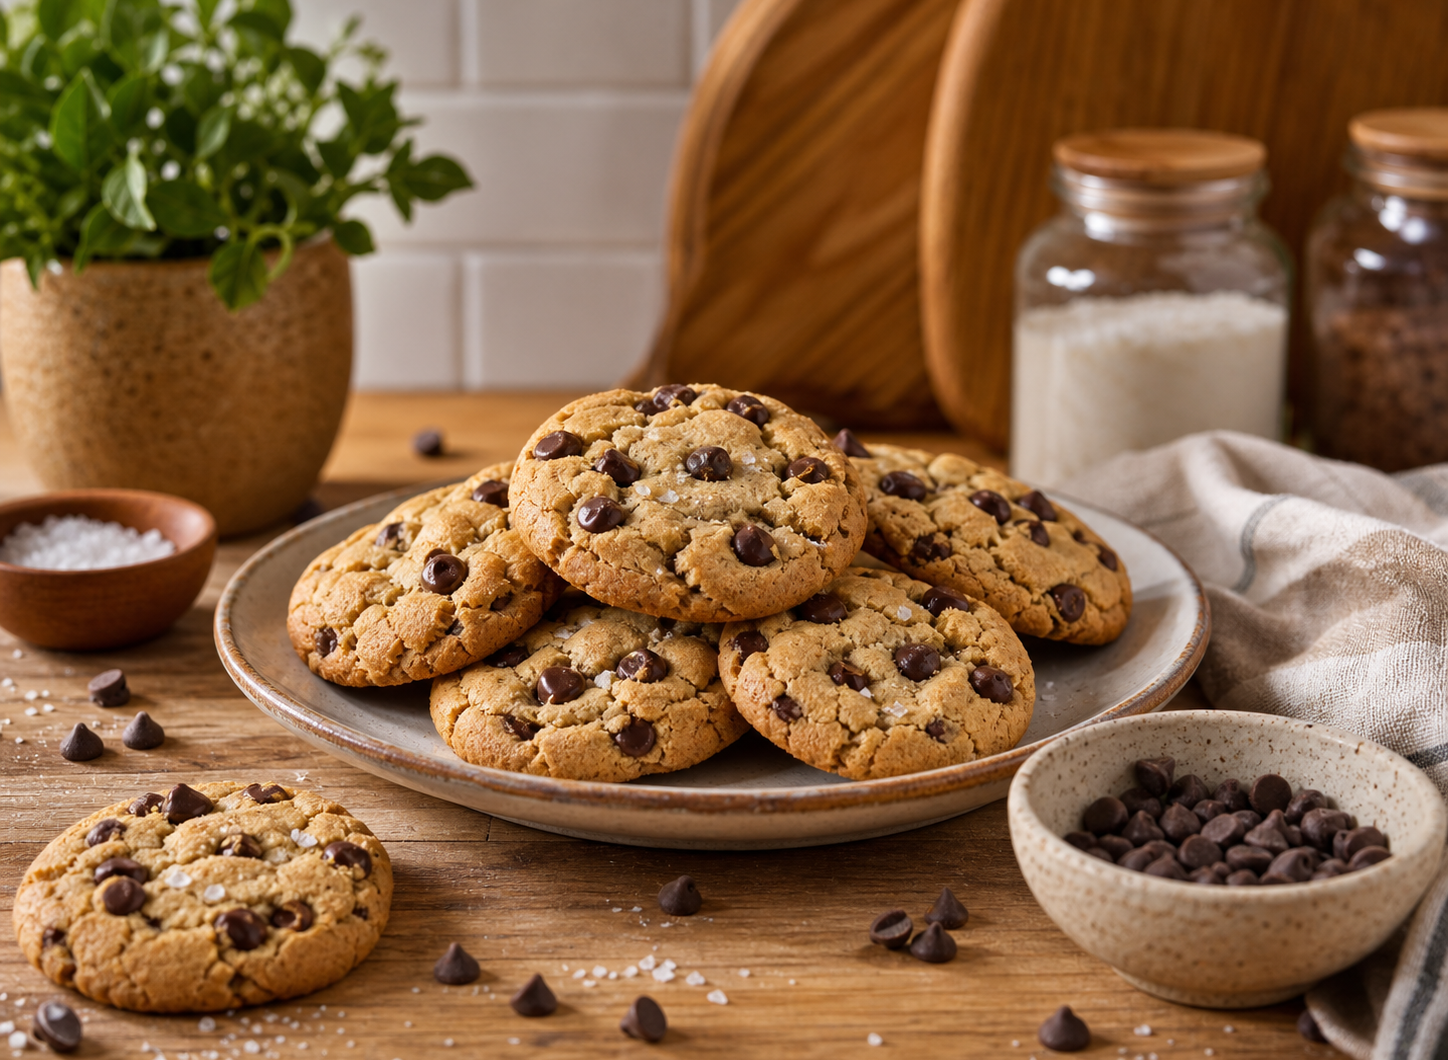
Gluten-Free Chocolate Chip Cookies
Chewy gluten-free chocolate chip cookies with crisp golden edges, soft centers, brown butter flavor, and plenty of chocolate chips. A 30-minute resting period helps create a smoother texture and better results.
18
servings15
minutes10
minutes184
kcal30
minutes55
minutesIngredients
- Dry Ingredients
1 1/3 cups (200g) gluten-free measure-for-measure flour
1/4 cup (25g) almond flour
1 teaspoon baking soda
1/2 teaspoon kosher salt
- Wet and Other Ingredients
1/2 cup (113g) butter
1 tablespoon milk of choice
3/4 cup (160g) brown sugar
1/4 cup (50g) granulated sugar
1 large egg
2 teaspoons vanilla extract
1 cup (170g) chocolate chips
Sea salt for sprinkling, optional
Directions
- Whisk the gluten-free flour, almond flour, baking soda, and kosher salt together in a medium bowl. Set aside. Melt the butter in a skillet over medium-low heat, stirring as it foams, until golden brown and nutty. Immediately transfer it to a bowl.
- Add the milk, brown sugar, and granulated sugar to the browned butter. Whisk until combined, then whisk in the egg and vanilla extract until the mixture is smooth.
- Add the dry ingredients and mix with a rubber spatula until combined. Fold in the chocolate chips. Cover the bowl and let the dough rest at room temperature for 30 minutes, or refrigerate for up to 5 days.
- Heat the oven to 350°F. Line large baking sheets with parchment paper or silicone baking mats. Scoop the dough into balls using about 2 tablespoons of dough for each cookie and arrange them about 2 inches apart.
- Bake for 10–12 minutes, or until the edges are golden brown and the centers are set but still soft. Remove from the oven and leave the cookies on the baking sheet for 5 minutes.
- Sprinkle with sea salt if desired, then transfer the cookies to a wire rack to cool completely. For frozen dough, bake directly from frozen and add about 1–2 minutes to the baking time as needed.
Notes
- Gluten-Free Flour: Use a gluten-free flour blend containing xanthan gum for the best texture.
- Dairy-Free: Use melted dairy-free butter instead of brown butter, omit the milk, and use dairy-free chocolate chips.
- Nut-Free: Replace the 1/4 cup almond flour with an additional 1/4 cup gluten-free measure-for-measure flour.
- Storage: Keep baked cookies in an airtight container at room temperature for up to 5 days.
- Freezing: Freeze shaped cookie dough balls for 1–2 hours until firm, then transfer them to a resealable freezer bag or airtight container.
- Resting: The 30-minute rest allows the gluten-free flour to absorb moisture and helps reduce a gritty texture.
Nutrition Facts
- Calories: 184kcal
- Fat: 8g
- Cholesterol: 24mg
- Sodium: 185mg
- Carbohydrates: 25g
- Fiber: 1g
- Sugar: 18g
- Protein: 2g


