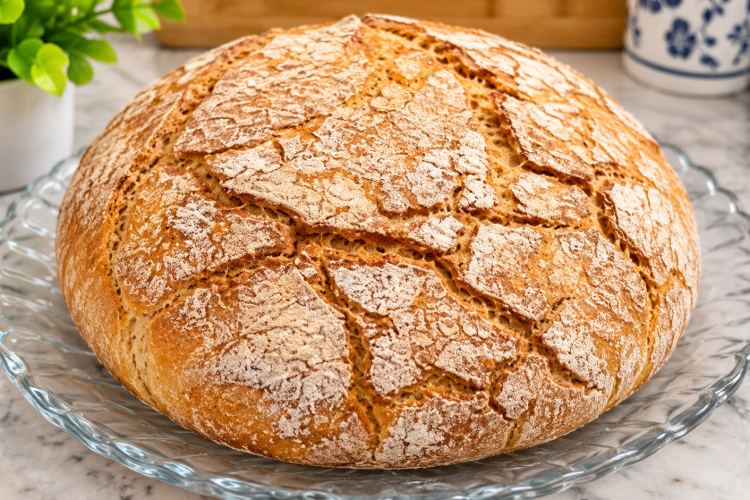
Making homemade bread without gluten can sometimes feel challenging, especially when you want a loaf with a crunchy golden crust and a soft, fluffy center. Many gluten-free breads available in grocery stores have a dry texture, a crumbly consistency, or a dense middle that does not resemble traditional homemade bread. Fortunately, this Gluten Free No Knead Bread recipe offers a simple way to enjoy fresh, delicious bread without complicated baking techniques or special equipment beyond a Dutch oven.
This easy gluten-free bread recipe uses only four basic ingredients: gluten-free bread flour, instant yeast, salt, and warm water. Unlike traditional bread recipes that require extensive kneading, this method relies on a long resting period to develop its texture and flavor. Once the dough has rested, you simply shape it, allow it to rise briefly, and bake it in a preheated Dutch oven. The result is a beautiful homemade loaf with a crisp exterior and a tender interior.
One of the best things about this recipe is that it does not require a sourdough starter, complicated flour combinations, or expensive specialty ingredients. It is an excellent option for anyone who wants to make fresh gluten-free bread at home with minimal preparation. Whether you are new to gluten-free baking or already enjoy making homemade bread, this no-knead method makes the process much easier.
This Gluten Free No Knead Bread
There are plenty of reasons to add this homemade gluten-free bread to your regular baking routine. Its simple preparation, dependable ingredients, and delicious texture make it suitable for everyday meals. You do not need professional baking experience to achieve a satisfying loaf, and most of the preparation time involves allowing the dough to rest rather than actively working with it.
No Kneading Required
Traditional bread recipes often require several minutes of kneading to develop the dough. This recipe takes a different approach by allowing the mixture to rest for approximately 16 to 18 hours. During this period, the yeast works gradually, helping the dough develop its structure and flavor. You only need to handle the dough briefly when shaping it before baking, making this recipe convenient for busy home cooks.
A Delicious Crispy Crust
The Dutch oven is one of the most important parts of this recipe. Baking the dough inside a hot, covered Dutch oven helps create a warm, enclosed environment that encourages the bread to develop a beautiful crust. After baking with the lid on, removing the cover allows the outside to become golden brown and wonderfully crisp.
Soft and Tender Inside
A good homemade loaf should have more than an attractive crust. The inside should also be tender, light, and enjoyable to eat. Using an appropriate gluten-free bread flour and allowing enough time for the dough to rise helps create a satisfying texture. Cooling the loaf completely before slicing is equally important because it gives the interior time to finish setting.
Only Four Simple Ingredients
You do not need a long shopping list to prepare this easy gluten-free bread. The recipe uses four basic ingredients that are commonly available in stores. Gluten-free bread flour provides the foundation, instant yeast helps the dough rise, salt improves the flavor, and warm water brings everything together. This straightforward ingredient list makes the recipe approachable for beginners.
What Makes Dutch Oven Gluten Free Bread Special?
A Dutch oven is particularly useful when making crusty homemade bread. Its heavy construction retains heat, while the lid helps trap moisture released from the dough during the first stage of baking. This creates an environment that supports the development of a crisp, attractive crust.
For gluten-free baking, achieving a good crust can be especially important because gluten-free dough behaves differently from traditional wheat dough. It does not have the same elastic structure, and the final loaf can become dry or dense if it is not baked properly. The covered Dutch oven helps provide consistent heat and moisture during the initial baking stage.
Preheating the Dutch oven before adding the dough is another important detail. A hot baking vessel helps the outside of the bread begin cooking immediately. Once the lid is removed, the dry heat encourages the crust to develop a deeper golden color. This combination produces a homemade loaf that is excellent for sandwiches, toast, and serving alongside soups.
How to Make Gluten Free No Knead Bread
Preparing this easy gluten-free Dutch oven bread does not require complicated techniques. The most important things are giving the dough enough time to rise, handling it gently when shaping, and allowing the bread to cool before cutting.
Combine the Dry Ingredients
Start by selecting a large mixing bowl that provides enough space for the dough to expand. Add the gluten-free bread flour, instant yeast, and fine sea salt. Stir the ingredients together until the yeast and salt are evenly distributed throughout the flour. Mixing the dry ingredients first helps ensure that every part of the finished dough receives an even amount of seasoning and yeast.
Add Warm Water and Mix
Pour the warm water into the bowl and stir everything together until the flour is incorporated. The mixture should form a sticky dough rather than a smooth traditional bread dough. Gluten-free bread dough often has a different consistency, so do not worry if it feels softer or stickier than expected. If you notice dry flour remaining in the bowl, add a little extra water one tablespoon at a time.
Allow the Dough to Rise
Cover the bowl with a clean kitchen towel or plastic wrap. Place it somewhere warm and allow the dough to rise for approximately 16 to 18 hours, or longer if needed. This extended resting time gives the yeast an opportunity to work gradually and helps develop the flavor. During this stage, the dough may become slightly expanded and show some bubbles, although it may not look exactly like traditional wheat bread dough.
Preheat the Oven and Dutch Oven
When you are ready to bake, remove the cover from the bowl. Place your Dutch oven inside the regular oven and preheat it to 500°F. Heating the Dutch oven at the same time is important because the hot cooking surface helps the bread begin baking immediately. Always use appropriate oven protection when handling the heated pot and lid.
Shape the Bread Dough
Lightly flour a large cutting board using additional gluten-free flour. Carefully transfer the dough from the bowl onto the prepared surface. Add a little more flour if the dough feels too sticky to handle comfortably. Gently knead and turn the dough approximately six times, then shape it into a round ball.
Place the shaped dough seam-side down on the cutting board. Lightly dust the surface with flour and cover it with a clean kitchen towel. Allow the dough to rest and rise for approximately one hour. This shorter second rise gives the shaped loaf time to relax before baking.
Transfer the Dough to the Hot Dutch Oven
Once the dough has completed its second rise, carefully remove the preheated Dutch oven from the oven. Transfer the dough into the hot pot, taking care not to burn yourself. You can score the top of the loaf with a sharp knife if desired. Scoring creates a small opening that allows the bread to expand during baking and gives the finished loaf a more traditional appearance.
Bake the Bread with the Lid On
Place the lid securely on the Dutch oven and return it to the oven. Reduce the oven temperature to 450°F and bake the bread for approximately 40 minutes. Keeping the lid on during this stage helps retain moisture and supports the development of the bread’s crust and interior texture.
Finish Baking Without the Lid
After 40 minutes, carefully remove the Dutch oven lid. Continue baking the bread uncovered for another 20 to 30 minutes, or until the outside develops a rich golden-brown color. The additional uncovered baking time is important because it allows the crust to become crisp rather than remaining pale or soft.
Cool Before Slicing
Remove the finished loaf from the Dutch oven and transfer it to a wire cooling rack. Allow it to cool completely before slicing. Waiting at least one to two hours gives the interior time to settle and helps prevent a gummy texture. Although freshly baked bread can be tempting, cutting it too early may affect the final consistency.
What to Serve with Gluten Free No Knead Bread
This homemade gluten-free bread is versatile enough to enjoy throughout the day. Its crisp crust and soft interior make it suitable for both sweet and savory toppings. Serve a warm slice with butter, fruit jam, or honey for a simple breakfast. You can also toast leftover slices and pair them with eggs, avocado, or your favorite breakfast spread.
For lunch or dinner, this bread is an excellent companion to homemade soups and stews. Try serving it with carrot cauliflower soup, butternut squash soup, or vegetarian minestrone soup. Its sturdy slices are also useful for dipping into gluten-free chili or enjoying alongside a fresh vegetable salad.
You can even use the bread to prepare sandwiches. Allow the loaf to cool completely, slice it evenly, and add your favorite fillings. Cheese, fresh vegetables, eggs, and other sandwich ingredients work well with its mild flavor. Toasting the slices can provide extra crispness and make them easier to use for open-faced sandwiches.
How to Store Gluten Free No Knead Bread
Proper storage helps preserve the flavor and texture of your homemade loaf. Since homemade gluten-free bread does not contain the same preservatives as many commercially packaged breads, it is important to store leftovers correctly.
Storing at Room Temperature
If you plan to eat the remaining bread within a day, wrap it in a clean kitchen towel or place it inside a bread bag or paper bag. Keep it at room temperature overnight. For longer storage, slicing and freezing the bread is a better option because it helps preserve its quality.
Freezing the Whole Loaf
You can freeze the entire loaf once it has cooled completely. Place it inside a sealed freezer-safe bag, remove excess air where possible, and store it in the freezer for up to two months. Make sure the bread is completely cool before wrapping it to prevent unwanted moisture from collecting inside the packaging.
Freezing Individual Slices
Freezing sliced bread is especially convenient because you can remove only the amount you need. Arrange the cooled slices in a freezer-safe bag and store them for up to two months. You can allow individual slices to thaw on the counter or warm them directly from frozen using a toaster, toaster oven, or regular oven.
Frequently Asked Questions
Is Gluten Free No Knead Bread Easy for Beginners?
Yes, this recipe is suitable for beginners because it does not involve complicated kneading techniques or multiple preparation stages. You simply mix the ingredients, allow the dough to rise, shape it briefly, and bake it in a Dutch oven. Following the rising and cooling instructions carefully will help you achieve a better result.
Can I Use Regular All-Purpose Gluten-Free Flour?
This recipe is developed for gluten-free bread flour. Ordinary gluten-free all-purpose flour may have a different combination of ingredients and absorb water differently. For the most reliable results, use a blend specifically designed for bread baking.
Why Does Gluten-Free Bread Need to Cool Before Slicing?
Gluten-free bread needs time to settle after baking. As it cools, the interior structure becomes firmer and the crumb finishes setting. Cutting the loaf while it is still hot can result in a sticky or gummy center, even when the bread has been baked properly.
How Long Should the Dough Rise?
The recommended initial rising time is approximately 16 to 18 hours. Depending on the temperature of your kitchen and the condition of your yeast, the dough may benefit from additional resting time. The recipe also includes a second rise of approximately one hour after shaping.
Can I Prepare the Dough in Advance?
Yes. After the initial room-temperature rise, you can cover the dough and refrigerate it for up to three days. Before baking, complete the shaping process and allow the dough to warm at room temperature for at least two hours.
Gluten Free No Knead Bread
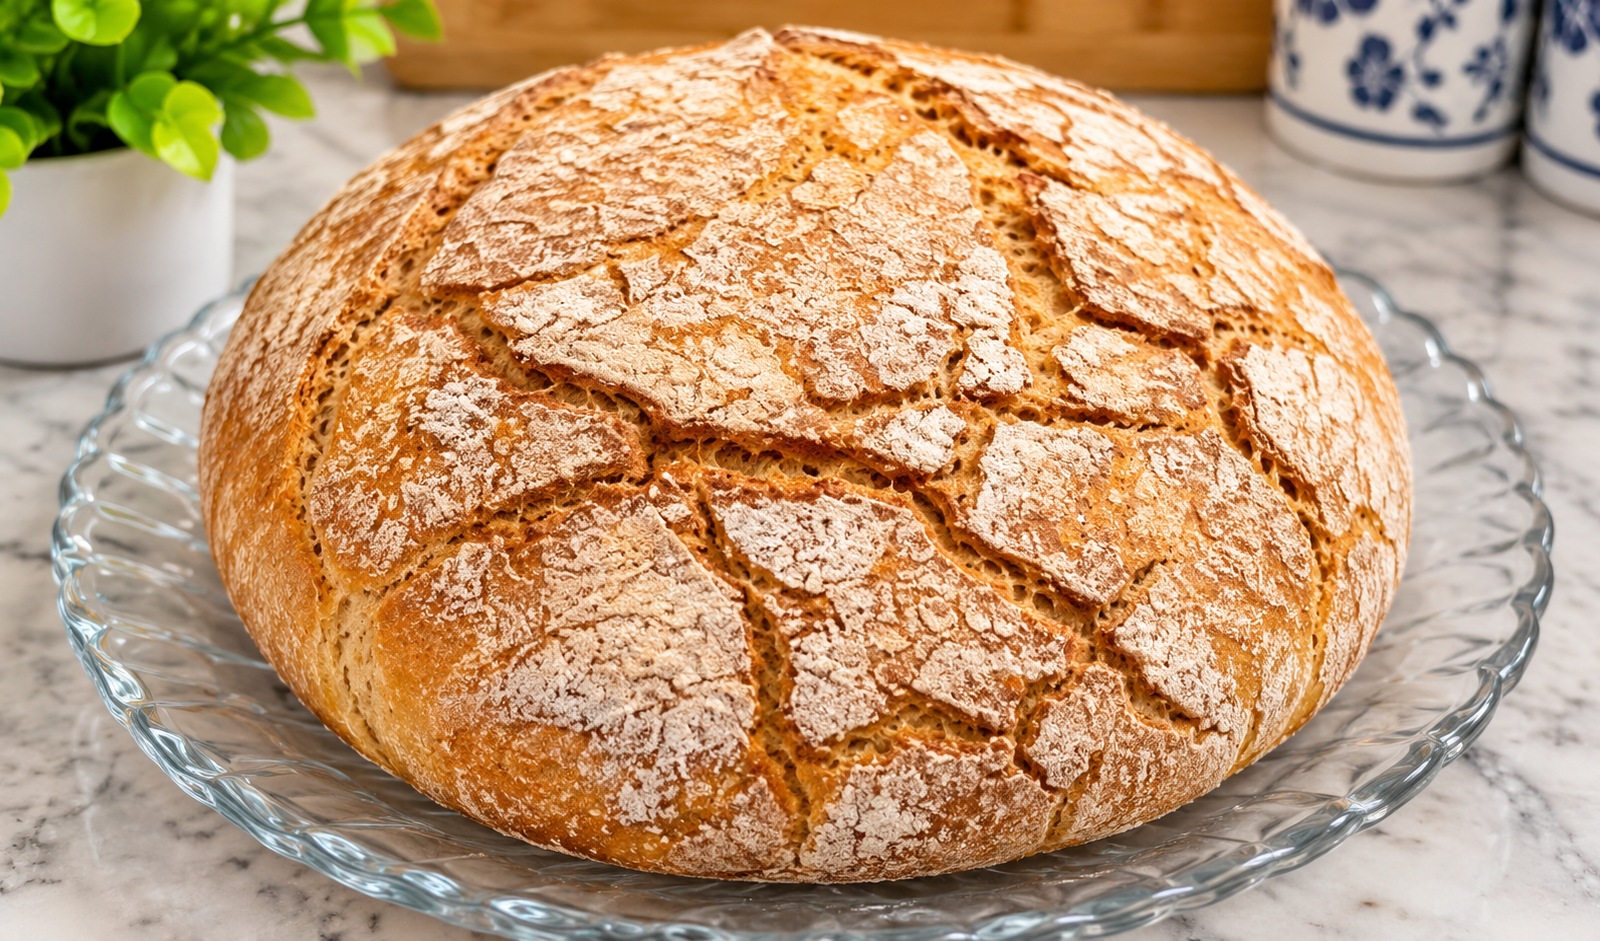
This easy Gluten Free No Knead Bread features a crispy golden crust and a soft, tender center.
10
servings10
minutes1
hour168
kcal1,080
minutes1
minuteIngredients
4 cups gluten free bread flour (I used King Arthur Gluten Free Bread flour)
½ teaspoon instant yeast
1–1½ teaspoons fine sea salt
1¾ cups warm water, plus a few more tablespoons if needed
Directions
- Combine the Dry Ingredients
In a large bowl, mix the gluten-free bread flour, instant yeast, and fine sea salt until evenly combined. - Prepare the Dough
Pour in the warm water and stir until all the flour is incorporated. Add extra water one tablespoon at a time if needed to form the dough. - Let the Dough Rise
Cover the bowl with a clean kitchen towel or plastic wrap. Place it in a warm location and allow the dough to rise for 16–18 hours or longer. - Preheat the Oven
Place a Dutch oven inside the oven and preheat to 500°F. - Shape the Dough
Lightly flour a large cutting board and transfer the dough onto it. Add additional flour if needed, then gently knead and turn the dough approximately six times. Shape into a ball and place seam-side down on the board. - Complete the Second Rise
Lightly flour the dough, cover it with a towel, and let it rise for one hour. - Bake the Bread
Carefully transfer the dough into the hot Dutch oven. Score the top if desired, cover with the lid, and reduce the oven temperature to 450°F. Bake for 40 minutes. - Finish Baking
Remove the lid and continue baking for another 20–30 minutes, until the crust becomes golden brown. - Cool and Serve
Remove the bread from the Dutch oven and transfer it to a wire rack. Allow it to cool for at least one hour before slicing.
Notes
- Allow the dough to rise for 16–18 hours for the best flavor and texture.
- The initial rise can be extended, depending on your kitchen conditions.
- After the initial rise, refrigerate the covered dough for up to three days if preparing ahead.
- Allow refrigerated dough to warm at room temperature for at least two hours before baking.
- Preheat the Dutch oven to help create a crispy crust.
- The finished bread should reach approximately 209–210°F internally.
- Let the bread cool completely before slicing to avoid a gummy interior.
- Store leftover bread in a bread bag or freeze it for up to two months.
Nutrition Facts
- Calories: 168kcal
- Fat: 0.4g
- Carbohydrates: 39g
- Fiber: 1g
- Sugar: 0.05g
- Protein: 3g


